13-04-20 Ways to increase mould life
This subject relies on a condensed checklist of moulding machine settings and preventive maintenance actions that improve mould longevity.
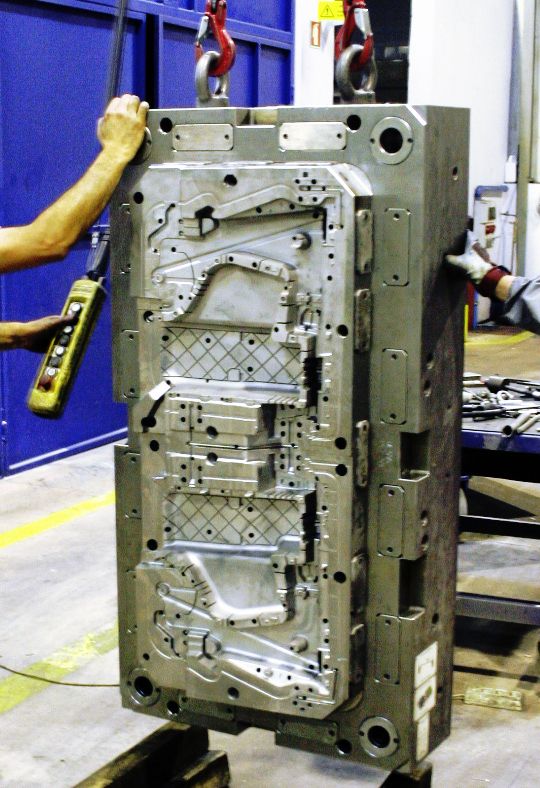
Tool life is key to a company’s bottom line and profitability. With the design and building stages complete, it is time to set the mould in the press and develop a process. Here are key press settings and essential preventative maintenance steps to improve mould life.
Increase mould Life - mould life is contingent upon proper setup, implementation, and maintenance procedures
1 Tonnage
2 Low-pressure close
3 Core set up
4 Mould open and close
5 Ejection set up
6 Hot runners and valve gates
7 Mould watering
8 Mould cleaning and care
1 Tonnage
Verify that you are using adequate tonnage for each mould. If an operator uses too little tonnage, the injection pressure can exceed the tonnage requirements and blow open the mould. If an operator uses excessive tonnage, the machine will apply excessive compression on parting lines, vent areas and mould components, damaging the tool.
Featured Content
To avoid these situations, use the following formula to determine the proper tonnage for each mould:
Cavity Area = Length x Width of mould face (cm/2)
Parts Area (Pa) = Cavity Area × # of Cavities
Tonnage (T) = Parts Area × *(T) 3 tons/cm2
(Note: thin-walled or high viscosity applications may require up to (T)5 tons/cm2)
2 Low-pressure close
Set up a low-pressure close (LPC) on the press to protect the mould. Set the high-pressure lock-up position no higher than 0.05 above the actual mould touch position. Also cycle the mould to reduce LPC pressure until the mould does not lock up. Pressure rises slowly, allowing just enough pressure for the mould to transition from low-pressure to high-pressure lock up. Also, set the mould close timer to 0.5 secs above the actual mould close time requirement. For example, if the actual mould close time is 0.76 secs, set the mould close timer at 1.26 seconds.
3 Core set up
Limit core pressures and speeds to the application’s requirements. Keep in mind that pressure can limit speed, but speed does not affect pressure set points. Fire cores based on position and not time to prevent crash conditions. Core operation affects cycle speed. Closely monitor core operation to identify signs that components are setting or pulling erratically.
4 Mould open and close
Clamp speeds are definite drivers of cycle time, but faster speeds are not better, as they can cause tool wear or damage. Monitor close fast speeds for signs of lunging that can cause mould drop and potential pin and component misalignment. Ensure the transition from close fast to close slow is smooth and that the close slow condition occurs just before component/pin match up. Ensure the transition between mould breakaway and mould open fast is also smooth, with the open fast segment occurring after all of the components have cleared the pins.
5 Ejection set up
Incorrect set points can endanger mould life through over-stroking or improper part ejection that causes parts to close up between mould halves. Base forward positions on the required amount of separation to properly remove parts from the mould. Over-stroking causes excessive strain on ejector pins and lifters. Part extraction should never require bottoming out the ejector plate. To reduce stress on ejection components, ensure pressure set points only use the required amount.
6 Hot runners and valve gates
Start up and shut down methods impact mould life. Poor start ups lead to over-packed cavities that require mould tear down and service. Before running parts, manually fire valve gates to verify proper set up and good working condition. Purge plastic through the hot runner drops to verify they are warm and ready for startup. During hot runner shut down, run the barrel dry and immediately reduce hot runner temperatures to reduce the risk of degradation.
7 Mould watering
Increased mould temperatures can adversely affect mould life, so limit mould temperatures to minimum requirements for acceptable part aesthetics. Also, ensure that mould half temperatures do not exceed a 7ºC variance between the stationary and movable halves. Temperatures above this scope cause improper heat soak conditions and poor tool mating conditions that damage the tool. Mark circuits and supply and return requirements clearly to prevent incorrect mould installation.
8 Mould cleaning and care
Always inspect, clean and grease moulds in production environments a minimum of once per shift. Watch for signs of wear, such as galling, parting line wear, burrs and metal shavings. Develop a regular preventative maintenance schedule, keep mould service records and review repetitive service/repair events to establish preventative maintenance frequencies that will help reduce unplanned service events.
Verify that slide slots are greased and that slides are functioning properly. Watch for signs of detent failure and loose gibs. Verify that slide positions are correct as you exit the mould after every cleaning and inspection. Use rust preventative when a mould will not be used for more than 6 hours, and coat textured and polished areas thoroughly to prevent rust damage.
The difference between the success or failure of a company’s tooling approach hinges upon its set up, implementation and maintenance procedures covered in this checklist.
Read more here
Source MMT
Keywords: #mouldlife #maintenance #togetherstronger #staysafe #stayathome #cluster #toolmanagers #shapes #molds #moulds #moldsfromportugal #moulds4_0 #industry4_0